|
|
Note that this section is intended for replacement of a blower
"motor" only. This requires disassembly and reassembly of the blower housing, and
the connection of 3 wires. The information depicted here may or may not match your equipment,
or configuration. It is provided for reference only. Use common sense when working on
your equipment. If you do not understand the information provided here, then do not use it,
and consult with a qualified electrician, or spa technician. This is page 4 of this
procedure.
Safety Warnings!
| Remove Power from the spa/hot tub BEFORE performing this
procedure. Failure to comply with this requirement, can lead to
electrical shock and/or electrocution! |
Disclaimer
|
| The
instructions here are intended for general reference only. Many blowers
are different from the one depicted here, and may require more or less
mechanical effort or knowledge in order to achieve the desired
results. |
READ FIRST BEFORE YOU
CONTINUE
|
|
 |
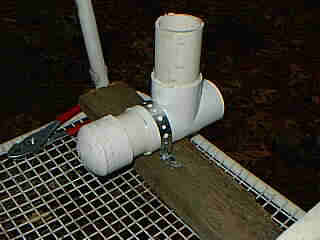 |
This little odd-ball is a new mounting base for the
blower. It's simply made of a couple of pieces of pvc, a 2" Tee, and an end
cap.
|
 |
 |
|
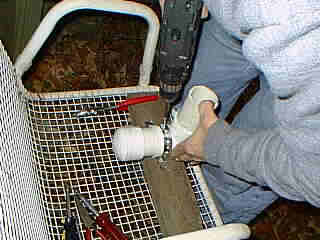
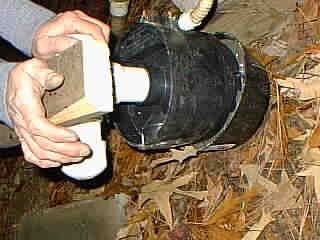
Installing the blower wiring is really common
sense. Thread the wires throught the wiring compartment on the assembly, and what I'm doing
here is simply rotating the blower assembly around the existing conduit, to thread the fitting back
into the blower.
|
|
|
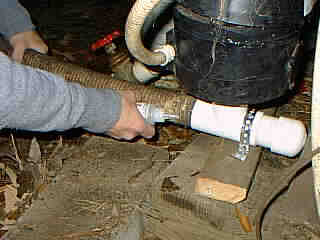
That completed, I insert the pvc fitting into the base
of the blower. It's a friction fit, and gets tighter as more pressure is exerted. If
possible, I like to drill a self-tapping screw into the black blower fitting, through the PVC
piping. This ensures that the blower won't 'blow itself off', of the pipe. DO NOT GLUE
THIS FITTING!
|
|
|
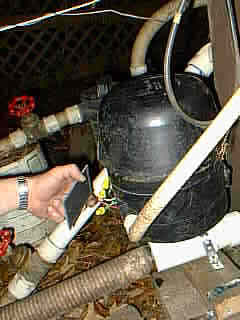
Using a special pvc cement called
PEVICOL
, I plumb the old flex pvc pipe into the new blower tee. Never use regular PVC cement to do
this! YOU WILL cause a blower explosion, destroy the blower, and possibly cause a
fire. If you don't have PEVICOL, then you can use 2 or three deck screws to secure the hose
into the plumbing fitting, or, using standard PVC cement, wait at LEAST 48 hours prior to
energizing the blower! Be sure power remains disconnected for the duration of this... and DO
NOT test the blower until after the 48 hours has passed! Otherwise you will destroy your
blower using standard PVC cement!
|
|
|
 |
 |
|
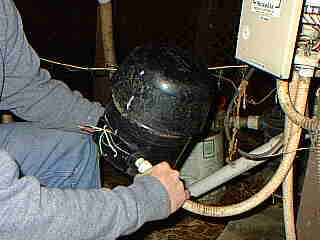
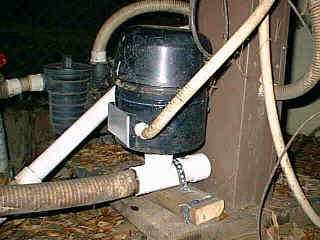
Finish up the project now by reconnecting the three
wires the same way they were removed. I also mount the wooden base using galvanized hanging
strap material and galvanized deck screws as shown.
|
|
|
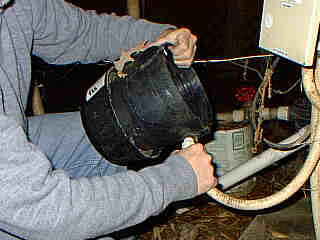
With the cover re-installed, I test the blower for
about 3 seconds to ensure that it works properly, then let it sit for at least 8 hours to allow all
of the silicone sealant to cure. Testing any longer than a few seconds will cause the sealant
to be pushed out of the joints, requiring disassembly and re-sealing of the blown out joints.
|
|
Previous Page
Pevicol PVC Cement
Blower Motors
External Blowers
|
|
|