|
External Air Blower Motor, Tropic-Air® Replacement
|
Home
|
Next Page.
|
Note that this section is intended for replacement of a blower
"motor" only. This requires disassembly and reassembly of the blower housing, and
the connection of 3 wires. The information depicted here may or may not match your equipment,
or configuration. It is provided for reference only. Use common sense when working on
your equipment. If you do not understand the information provided here, then do not use it,
and consult with a qualified electrician, or spa technician.
Safety Warnings!
| Remove Power from the spa/hot tub BEFORE performing this
procedure. Failure to comply with this requirement, can lead to
electrical shock and/or electrocution! |
Disclaimer
|
| The
instructions here are intended for general reference only. Many blowers
are different from the one depicted here, and may require more or less
mechanical effort or knowledge in order to achieve the desired
results. |
READ FIRST BEFORE YOU
CONTINUE
|
|
 |
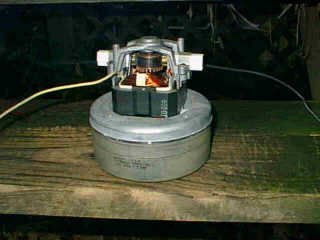 |
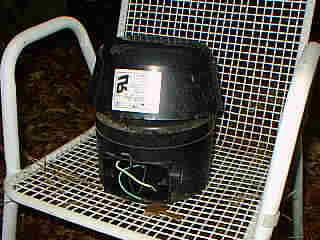
This externally mounted Tropic-Air
® blower assembly needs the new motor shown on
the right. It's a 2.0 Hp, 230 Volt model. (To purchase this motor,
click here
.)
|
 |
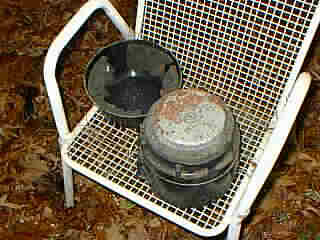 |
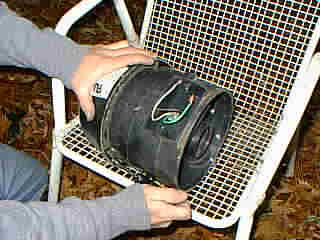
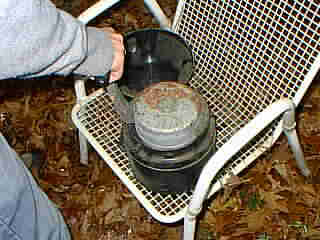
In order to disassemble this kind of blower, the
screws that are holding on the top, (located underneath the edge), must be removed. These are
usually phillips head or 5/16" hex screws. Note the rust that has accumulated around the
old motor housing (right).
|
|
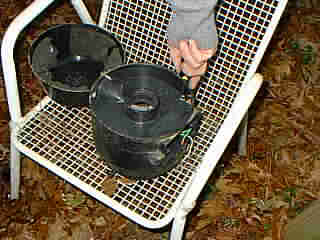
At this point, we have to remove the foam insulation
surrounding the motor itself. The foam usually serves two purposes... 1, to reduce the noise
emanating from the blower housing, and 2, to prevent bugs and other debris from being sucked into
the blower air impeller.
Normally it will work fine without this insulation,
but if you can, try to preserve and re-install it.
|
|
 |
|
 |
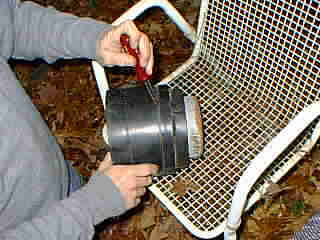 |
With the foam removed, now it's time to remove the
motor and retaining mount from the main housing. This requires a 5/16" nut driver as
shown on the left. Usually there will be 4 screws on the bottom of the blower holding it
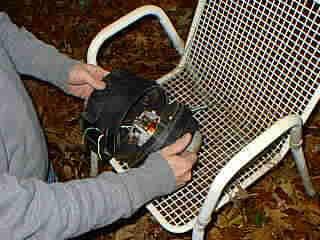
in. To finish separating the blower motor frame from the housing, I use a flat-headed
screwdriver to pry the assembly apart.
|
 |
|
Once a little bit of force is applied to the housing,
it usually separates quite easily.
|
|
|
 |
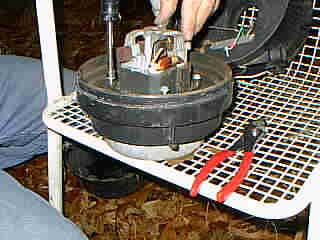 |
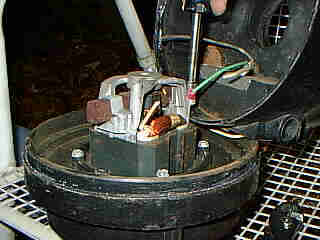
With the blower motor mounting frame detached from the
rest of the housing, the first thing to do is to remove the green ground wire attached to the motor
frame itself. Then, remove the four screws holding the plastic motor mounting ring,
(right), using a 5/16" nut driver.
|
 |
|
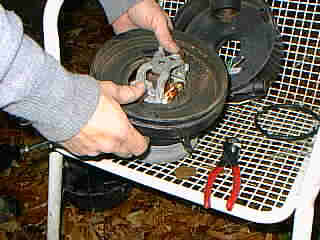
Now we can remove the blower motor. Because of size constraints,
the brush assemblies must be hand maneuvered through the small hole.
|
|
Removal of the old motor is now complete, click to continue to the
next page.
|
|
|
|