|
|
Note that this section is intended for replacement of a blower
"motor" only. This requires disassembly and reassembly of the blower housing, and
the connection of 3 wires. The information depicted here may or may not match your equipment,
or configuration. It is provided for reference only. Use common sense when working on
your equipment. If you do not understand the information provided here, then do not use it,
and consult with a qualified electrician, or spa technician. This is page 2 of this
procedure.
Safety Warnings!
| Remove Power from the spa/hot tub BEFORE performing this
procedure. Failure to comply with this requirement, can lead to
electrical shock and/or electrocution! |
Disclaimer
|
| The
instructions here are intended for general reference only. Many blowers
are different from the one depicted here, and may require more or less
mechanical effort or knowledge in order to achieve the desired
results. |
READ FIRST BEFORE YOU
CONTINUE
|
|
 |
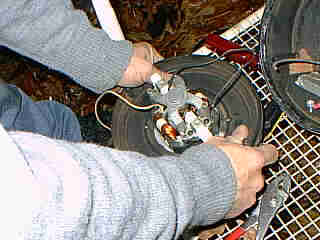 |
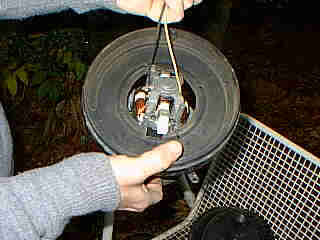
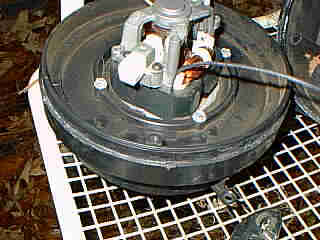
Installing the new motor is quite easy at this point,
simply maneuver the wiring and the motor through the access hole in the motor mount. Be
careful not to damage the brush assemblies.
|
 |
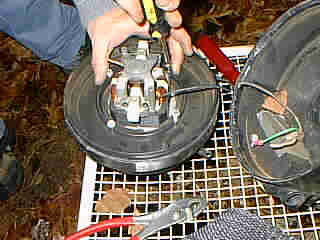 |
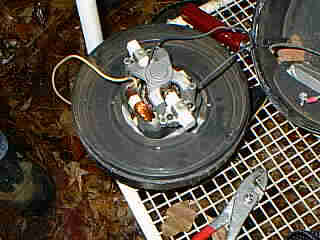
On the left, we've got the motor and mounting assembly
sitting in the correct position. On the right, we're re-installing the 5/16" screws that
will hold the assembly together.
|
|
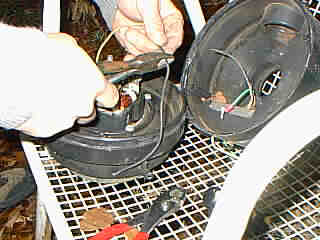
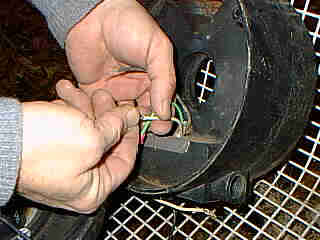
Now we've got to thread the motor wires to the
connection compartment. First I trim them to the appropriate length, and thread them
through the housing. (This may seem odd, but I only do this as a demonstration in case the
wires in your particular blower configuration are too short. Check yours first before cutting
the new wires).
|
|
 |
|
 |
 |
|
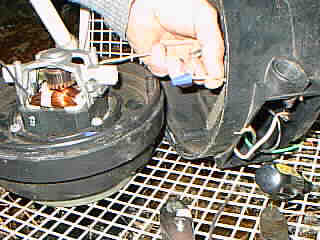 |
With all of that completed, connecting the wires and
setting every thing else electrical wise is in order now. The 3 wires coming from the main
compartment must be connected to the blower motor. Don't forget the ground
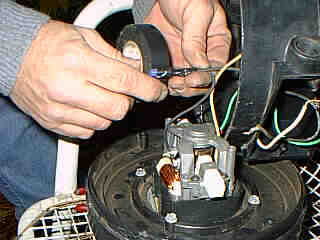
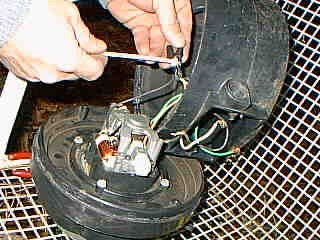
wire! 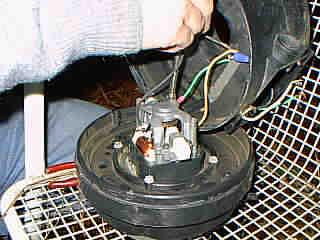 I
usually prefer to twist them together, connect a wire nut, then tape them up with electrical
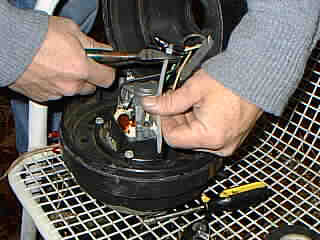
tape. Then, to prevent the blower air from untwisting them, tie the entire group of wires
together with a nylon tie-wrap. I
usually prefer to twist them together, connect a wire nut, then tape them up with electrical
tape. Then, to prevent the blower air from untwisting them, tie the entire group of wires
together with a nylon tie-wrap.
|
|
|
 |
 |
|
 |
|
Because the electrical connections are in the same
compartment/area as the rotating armature, it is important to make sure that everything in this
area is minimalized. The least amount of wire, means the least amount of problems.
Using a nylon tie wrap to prevent the unravelling of the electrical tape, and keeping the wire
assembly intact is important here. Use common sense!
If the wires on your blower motor are long enough, you
may not have to perform this patch, simply route the new wires through the housing. Don't
forget the ground wire though!
|
|
|
|
|
|