|
This section shows a complete spa control system replacement
sequence. It is on an older Leisure Bay Industries spa, utilizing an FF-32 control system,
with a Vulcan Electric heater. The new system is a Gecko Pro-Pack. This installation is
relatively easy, and straight forward, however it does take some time to do it properly, along with
the use of a lot of common sense. Virtually all spa equipment configurations are different,
sometimes even among those of the same make and model.
Sometimes only slight variations can cause problems in one
installation that you'll not see in another, so be careful, and if you decided to tackle a project
like this, remember to think.... and measure... and re-think... and re-measure... BEFORE you cut or
glue in that fitting!
Safety Warnings!
|
Remove Power from the spa/hot tub BEFORE
working on your spa/hot-tub! Failure to comply with this requirement, can lead to electrical
shock and/or electrocution!
|
Disclaimer
|
|
Drain the spa before attempting a job like this!
|
READ FIRST BEFORE YOU CONTINUE
|
|
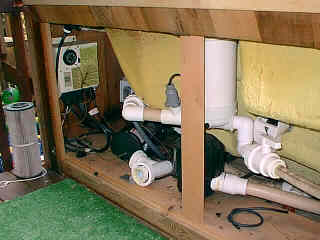
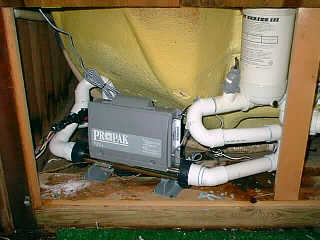
On this spa, we are going to remove the older equipment
configuration on the left, and replace it with the newer digital system below. We are also
replacing the blower assembly.
|
 |
 |
|
|
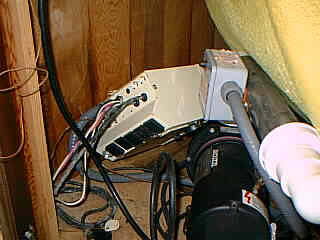
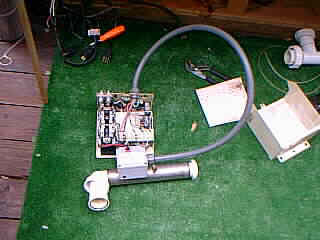
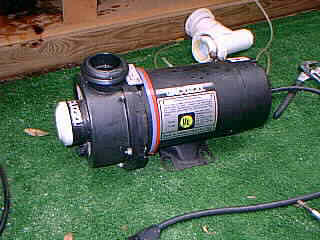
After all power is confirmed to be turned off, and the
spa is drained, the first thing to do is to remove all of the existing equipment, including the
pump. Now's a good time to go ahead and replace the pump seal assembly.
|
 |
|
|
 |
 |
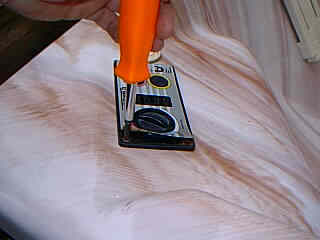
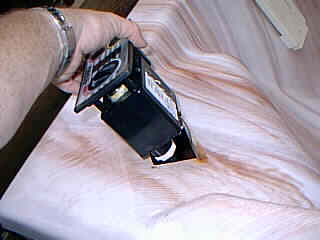
Removal of the side control assembly from the spa is
next. Usually 4 screws hold it in the spa shell, accessed by lifting up the plastic
decorative cover of the side control.
|
 |
 |
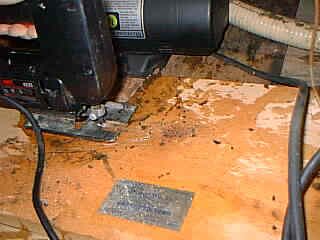
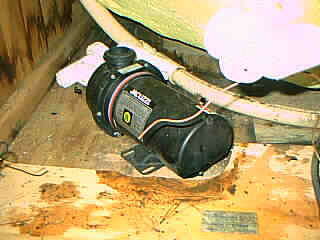
In this case, I decided to move the pump to the lower level of the spa, and
attach the suction directly to the valve where the skimmer and bottom drain are tied to each
other. This way I will have a lot of room to put the spa control pack itself.
|
 |
 |
|
|
|
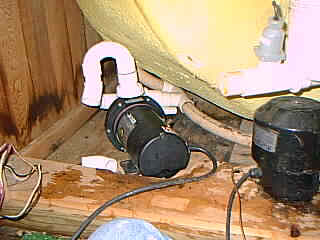
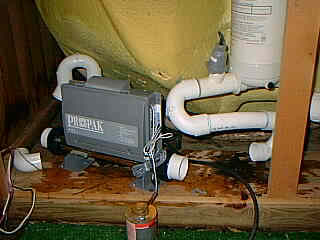
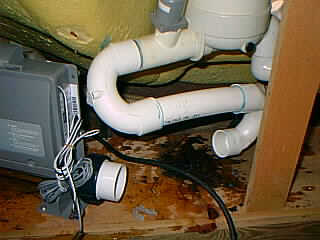
Like I said before... think and re-think. In this case I
forgot to re-think, and installed the PVC U-bend. All I really needed in this case was a
simple 90 degree elbow to route the pump discharge to the spa pack.
|
 |
|
 |
 |
Now, what I did at this point was to fabricate an 'S'
configuration that will get the water from the heater discharge into the existing filter.
Without this arrangement, the filter would need to be replaced. Here I used 2 1.5" U-Bends,
and 1.5" PVC flex hose. This usually works pretty well, much better than using 90 degree
elbows.
|
 |
 |
|
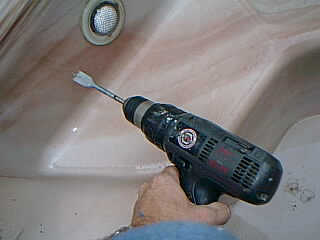
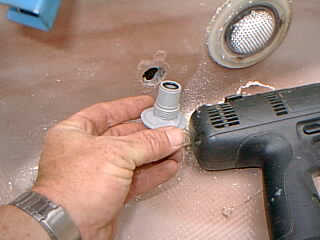
Before I get too far on the plumbing, I'm going to go
ahead and install the thermowell for the new temperature sensor. I usually pick a flat spot
somewhere easy to get to, at the half-depth point of the water level. This will ensure that
the temperature reading reflects more of an 'average' temperature of the water. I use a 1"
flat wood bit to make the hole.
|
|
|
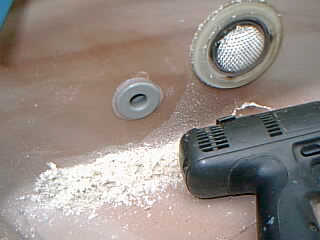
Then I apply a liberal amount of clear silicone sealant
to the back of the thermowell.
|
|
|
 |
 |
|
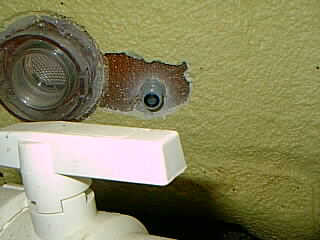
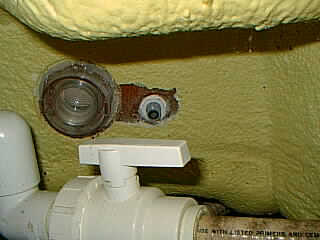
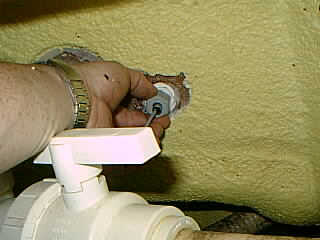
Pushing the thermowell through the shell, the next thing
is to apply silicone sealant around the back of the thermowell, where it meets the fiberglas
shell. Note how I removed the tub foam insulation to provide a positive sealing surface for
the retaining nut.
|
|
 |
 |
|
|
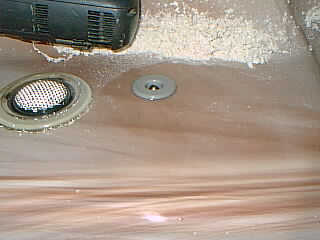 |
Top left, the retaining nut threaded on and tightened
down finger tight. Top, the temperature sensor inserted into the well assembly, and the
retaining cover threaded into place. Left. The finished assembly, with the excess
silicone sealant wiped off.
|
|
Next Page
|
|


