Underskirt Blower motor
replacement;
Horizontal Output
Style.
|
Previous
|
Safety Warnings!
| Remove Power from the spa/hot tub BEFORE performing this
procedure. Failure to comply with this requirement, can lead to
electrical shock and/or electrocution! |
Disclaimer
|
| The
instructions here are intended for general reference only. Many blowers
are different from the one depicted here, and may require more or less
mechanical effort or knowledge in order to achieve the desired
results. |
READ FIRST BEFORE YOU
CONTINUE
|
 |
 |
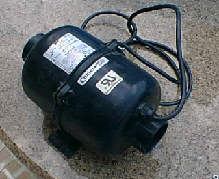
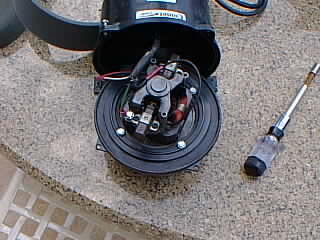
This under-spa skirt mounted
Comet® blower assembly needs the new motor shown
on the right. It's a 1.5HP, 230 Volt model. (To purchase this motor,
click here
.)
|
 |
 |
In order to disassemble this kind of blower, the
screws that are holding the assembly together, must be removed. There are usually four
5/16" hex screws. Take care to preserve the foam insulation in the housing.
|
|
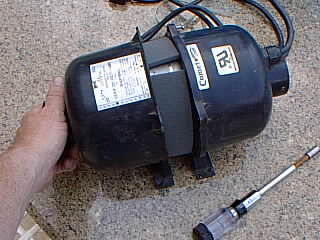
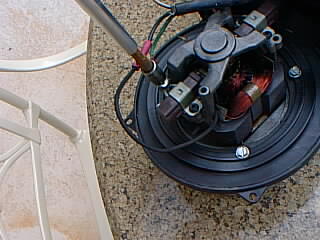
MOST blowers of this type, will utilize what is called
a "strain relief" to allow the power cord to enter the blower, and most of them, do it
very well, preventing air loss through the hole. What I'm trying to do, is to remove the
strain relief, and allow the cord to go through the entrance in the housing, so I can pull the
motor assembly out, and remove and re-attach the existing connections.
Most strain reliefs can be removed with your fingers,
simply unscrew them. Sometimes, you may need to use a pair of pliers to get it
loose.
|
|
 |
|
 |
 |
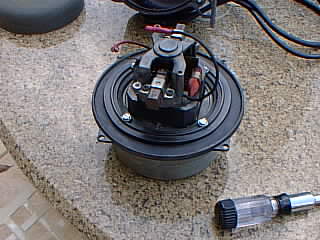
Now that the strain relief has been removed, the motor
will come out easily, exposing the wiring connections. First thing, is to remove the ground
screw connection (green wire) to the motor frame. SAVE this screw! You'll need to use
it again on the new motor.
|
 |
|
Now that the ground screw is removed, I've cut the
power wires (usually black and white) to the motor, and separated the assembly.
|
|
|
 |
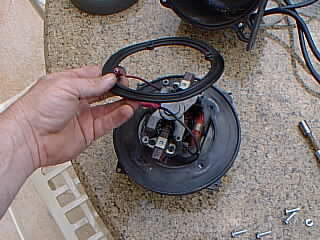 |
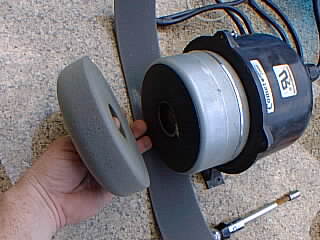
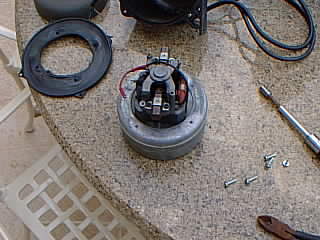
Here I'm removing the four screws holding the plastic
motor mounting ring, (right), using a 5/16" nut driver. There's another flow
isolator below this on this specific installation, which also must be removed.
|
 |
|
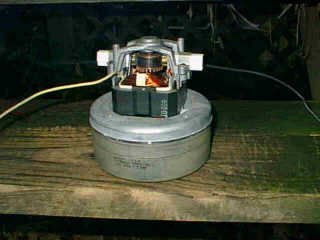
Motor is now totally removed... now it's time to install the new
motor in the blower assembly.
|
|
Removal of the old motor is now complete, click to continue to the
next page.
|
|