|
|
Note that this section is intended for replacement of a blower
"motor" only. This requires disassembly and reassembly of the blower housing, and
the connection of 3 wires. The information depicted here may or may not match your equipment,
or configuration. It is provided for reference only. Use common sense when working on
your equipment. If you do not understand the information provided here, then do not use it,
and consult with a qualified electrician, or spa technician. This is page 3 of this
procedure.
Safety Warnings!
| Remove Power from the spa/hot tub BEFORE performing this
procedure. Failure to comply with this requirement, can lead to
electrical shock and/or electrocution! |
Disclaimer
|
| The
instructions here are intended for general reference only. Many blowers
are different from the one depicted here, and may require more or less
mechanical effort or knowledge in order to achieve the desired
results. |
READ FIRST BEFORE YOU
CONTINUE
|
|
 |
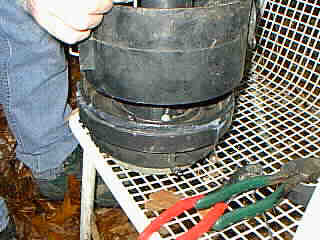 |
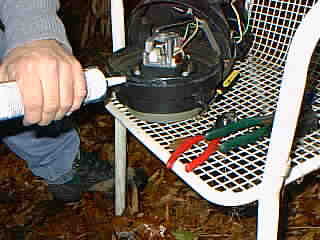
Once the assembly of the motor to the housing is
complete, it is prudent to reseal the lower blower cavity with silicone sealant. Without it,
this thing would probably whistle so loud that it would drive neighbors crazy 3 blocks
down.
|
 |
Now, I carefully thread the three blower motor wires
through the access hole to the connection box, and pull them in a reasonable amount
to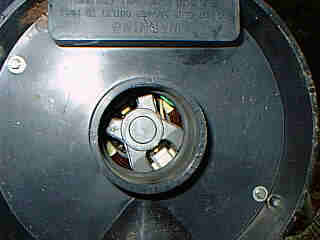 ensure that air movement won't cause interference between the rotating armature, and the wires
inside. This must be done simultaneously with assembling the blower housing.
Afterwards, it's a good idea to make a visual check through the blower exhaust to ensure that none
of the wires are liable to make contact with the rotating armature. Everything done?
Now re-install the through bolts and tighten the nuts down.
|
|
|
|
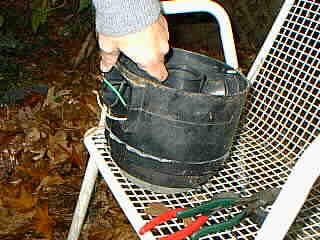
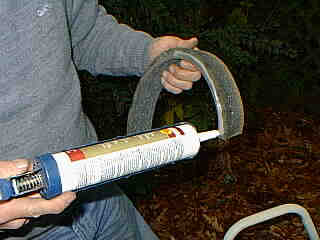
With the discharge assembly complete, I re-use the
foam strips and install them with silicone.
|
|
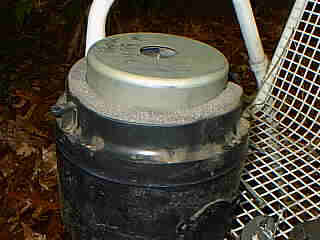
|
It is important to try to re-use the foam, simply
because it is the most important part of noise reduction. The blower will work without it...
only it'll be a bit louder.
|
|
|
 |
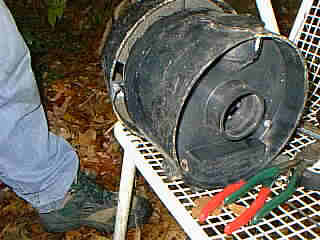 |
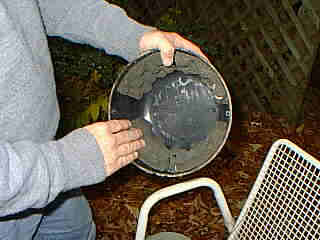
Make a judicious inspection of the noise reducing foam
in the blower intake cap. If it's loose or coming apart, go ahead and remove and replace it,
or re-install it using silicone adhesive. Finally, re-install the screws from the suction
part of the housing.
Reassembly of the blower is complete, click
here
to go on to the next page.
Previous Page
|
|
|